


How to Create and Increase Swap Space in Ubuntu 20.04
Содержание
- What is Swap Space in Linux?
- How to Check Swap Space in Linux
- How to Create a Swap File and Increase Swap Space
- How to Make a Swap File Permanent and Adjust its Settings
- Closing Words
- How to Secure WordPress: Advanced Guide
- How to install Plex media server on Ubuntu 20.04
Though for the most part Linux applications run just fine, it’s not uncommon to run into Out of Memory errors when using particularly performance-intensive programs. As you may have gathered, this occurs when your server does not have enough RAM to hold the application in memory. This can be remedied with Ubuntu swap space, which we’ll show you how to adjust today.
What is Swap Space in Linux?
Swap, which you may know as the paging file or page file on Windows, is space set aside by the operating system to temporarily hold information that it can’t hold in RAM. Rather than throw up errors and force you to close other applications, Ubuntu swaps some of the information that’s in memory to a hard drive for later use.
This is not ideal – there’s a reason that PC’s have RAM instead of just regular hard drives – but it’s better than data loss. Though hard drives have the advantage of offering non-volatile storage, they’re much slower than RAM. As a result, the overall experience is likely to be degraded if you use a system than runs out of memory frequently. Essentially, It’s always better to have more RAM than you need, but Swap Space can protect against out-of-memory exceptions in a pinch.
Generally, though, you should be careful using swap storage if your server or personal system is using a Solid State Drive (SSD). As SSDs have a limited amount of writes in its lifespan, constantly swapping out data from the SSD to RAM can quickly degrade the drive.
If it’s very rare that you exceed your RAM, this isn’t likely to cause major issues, but for systems with low memory and an SSD, it’s not recommended.
How to Check Swap Space in Linux
It’s always a good idea to check how much Ubuntu swap space (if any) your system has before adjusting it. You can do so with the following command:
sudo swapon —show
If the command returns nothing, it means you don’t currently have any swap space configured. If you want to verify this, type:
Now we can move onto the next step – making sure your hard drive has enough space to create a swap file. Enter:
The output will look something like this:
The column /dev/root , which is mounted on / is our drive in this scenario. You can see that 4.7 GB out of 20 has been used, or a total of 20%. That gives us plenty to play with, considering that our server has 1 GB of RAM and it’s unlikely to even double that.
Here’s a helpful table from the Ubuntu community help wiki:
| RAM | No hibernation | With Hibernation | Maximum |
|---|---|---|---|
| 256 MB | 256 MB | 256 MB | 512 MB |
| 512 MB | 512 MB | 1024 MB | 1024 MB |
| 1024 MB | 1024 MB | 2048 MB | 2048 MB |
| 1 GB | 1 GB | 2GB | 2GB |
| 2 GB | 1 GB | 3 GB | 4 GB |
| 3 GB | 2 GB | 5 GB | 6 GB |
| 4 GB | 2 GB | 6 GB | 8 GB |
| 5 GB | 2 GB | 7 GB | 10 GB |
| 6 GB | 2 GB | 8 GB | 12 GB |
| 8 GB | 3 GB | 11 GB | 16 GB |
| 12 GB | 3 GB | 15 GB | 24 GB |
| 16 GB | 4 GB | 20 GB | 32 GB |
| 24 GB | 5 GB | 29 GB | 48 GB |
| 32 GB | 6 GB | 38 GB | 64 GB |
| 64 GB | 8 GB | 72 GB | 128 GB |
| 128 GB | 11 GB | 139 GB | 256 GB |
Keep in mind that you’ll need a large page file if your system has hibernation enabled, as it writes the contents of the RAM to swap on shutdown.
How to Create a Swap File and Increase Swap Space
Now that we’ve verified it’s safe to proceed we can craft our swap file. There are a few ways to do this, but the easiest is via the fallocate program, which lets us allocate the exact size we want our swapfile to be.
As mentioned earlier, our server has 1 GB of RAM. We’re going to set our swapfile to 2 GB because we have plenty of free space, but 1 GB of swap would likely work just fine if we didn’t:
As we didn’t specify a folder, our swapfile will be placed in our root directory, which is what we want. The command won’t give any output, so you can make sure the swap space was actually reserved with:
In our case, the command returns:
-rw-r—r— 1 root root 2.0G Aug 15 12:47 /swapfile

However, though we have space reserved for our swapfile, our system hasn’t yet be told this is where we want to it store information when out of memory. Before we do so, we want to make sure nobody but root can modify the file. Otherwise, an attacker could potentially use the file to perform an attack or steal information. Set the permissions with:
sudo chmod 600 /swapfile
Now verify that change using the same command as earlier:
The output should have changed from rw-r—r— 1 root root to -rw——- 1 root root 2.0G Aug 15 12:47 /swapfile , indicating that now only root has the read and write flags enabled.
With that done, dedicate the file as swap space by entering:
sudo mkswap /swapfile
The output should say something like:
Now we just need to enable the swap file:
sudo swapon /swapfile
And verify that it’s available via the check commands from earlier:
sudo swapon —show
How to Make a Swap File Permanent and Adjust its Settings
Though we’ve technically created out swap space now, the changes won’t persist across a reboot unless we take further action. We remedy this by adding the swap file to /etc/fstab , Unix’s system configuration file:
The first command backed up our old fstab file, so if anything goes wrong you should roll back to that. Now we can talk about configuration. Here are some of the most commonly adjusted options and their purpose:
- Swappiness: How often your PC swaps data from RAM to your swap space. A value of 0 to 100, denoting the percentage of available RAM you want it to swap at.
- Cache pressure: How often the system caches inode and dentry (file system) data. This often performance intensive and worth caching. The 0 to 100 value signifies how much the system will choose to cache.
How to Change Swapiness
You can see your current swapiness value by entering:
By default, your swapiness value is probably 60. For reference, at 1 the kernel won’t swap data out of memory unless it would experience serious issues otherwise. At 99, the system will try to keep memory space free by swapping information into memory quite aggressively. At 60, it’ll swap when the RAM reaches 40% capacity.
It’s ultimately up to you what you set this to, but a guideline is a low value like 10 for a desktop installation with a good amount of RAM. For a server with low RAM, 60 could be a passable default value, but it’s worth experimenting with. Change it via the command:
sudo sysctl vm.swappiness=10
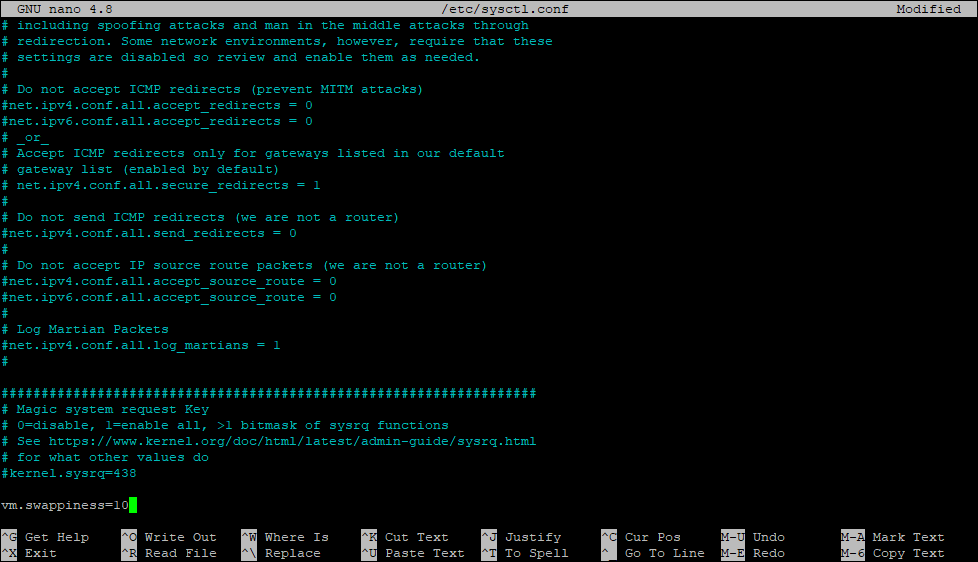
Once you’re happy, you can force it to persist across a reboot by adding the line to /etc/sysctl.conf . Type sudo nano /etc/sysctl.conf and add vm.swappiness=10 to the bottom of the file.
Press Crl+O to save, then Ctrl+X to exit.
Change your Cache Pressure Value
You can see your current cache pressure value by typing:
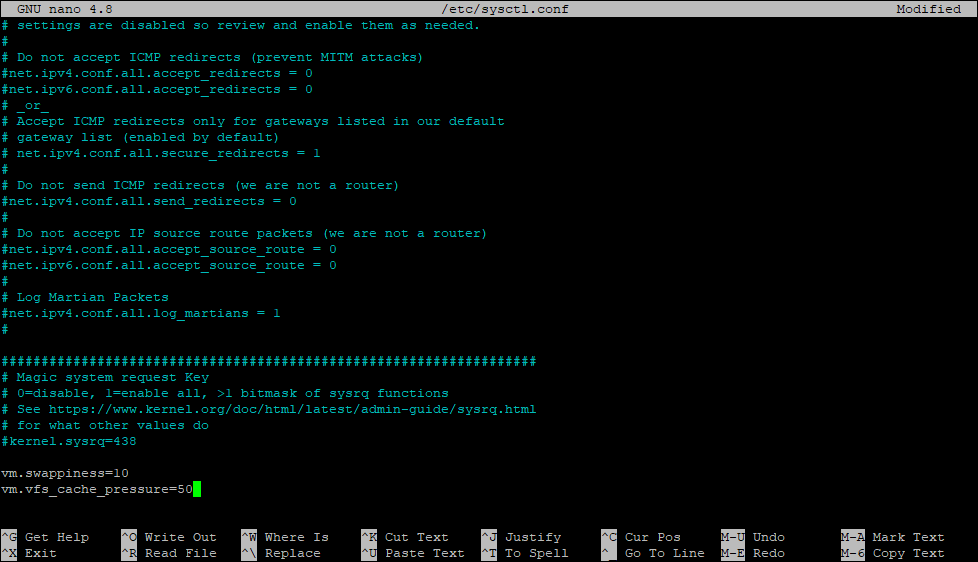
The default will be 100, but 50 is generally a good number to start with. You can type sudo sysctl vm.vfs_cache_pressure=50 to set it for this boot.
To make the change permanent, add the vm.vfs_cache_pressure=50 to the bottom of your sysctl.conf with:
sudo nano /etc/sysctl.conf
Closing Words
Making these adjustments will almost always help your performance in Ubuntu 20.04 and prevent out of memory errors. Just make sure you aren’t too aggressive if you use an SSD or you could wear the hardware down slower.
However, it’s worth noting that even with these errors, with a low amount of RAM there’s only so much you can do. Tasks take far longer to complete on swap storage and you may still run into out of memory errors in some applications if you only have 1 GB. In these cases, it’s best to just upgrade your server. Jumping up a few gigabytes of RAM usually isn’t that expensive and can help a lot.
***Sign up to BitLaunch and grab a server with up to 32 GB of RAM for use with your Ubuntu swap space.
Subscribe to BitLaunch News and Guides
Get the latest posts delivered right to your inbox

How to Secure WordPress: Advanced Guide
It’s worth doing what you can to secure WordPress on a personal level, whether it’s minimizing the number of plug-ins you install or the more advanced ones we’ll cover below. By the end of this guide, you should have a better understanding of how to secure a WordPress site from hackers.

How to install Plex media server on Ubuntu 20.04
If you have a large local media library you’ve probably heard of Plex – the platform that lets you quickly organize, curate, and stream your content to other devices.
Источник: