


Getting Started with ESPHome and Home Assistant
Содержание
- Installing ESPHome Dashboard
- Dashboard Interface
- Adding some (basic) features
- Connecting your device to Home Assistant
- Adding A Binary Sensor
- Where To Go Next
ESPHome is the perfect solution for creating custom firmware for your ESP8266/ESP32 boards. In this guide we’ll go through how to setup a basic “node” using the ESPHome Dashboard, installed as a Home Assistant add-on.
But first, here’s a very quick introduction to how ESPHome works: ESPHome is a tool which aims to make managing your ESP boards as simple as possible. It reads in a YAML configuration file (just like Home Assistant) and creates custom firmware which it installs on your ESP device. Devices or sensors added in ESPHome’s configuration will automatically show up in Home Assistant’s UI.
Installing ESPHome Dashboard
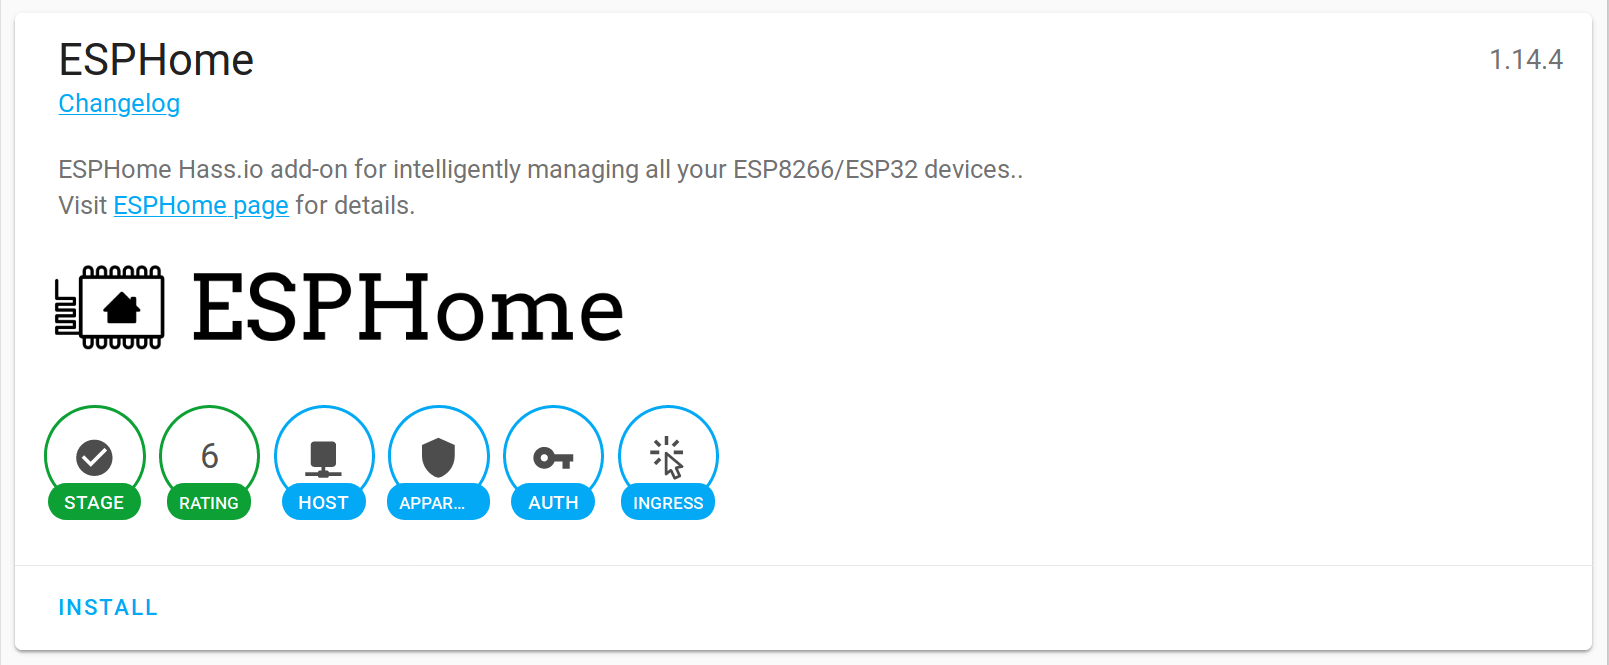
The ESPHome Dashboard can be installed as a Home Assistant add-on, which you can find in the add-on store in the Supervisor panel. Open it using the following button then click on INSTALL:
After that, wait a bit until it is installed (this can take a while). Click “Start” and then click “Open Web UI”. If you see “502: Bad Gateway” it is currently starting, and you can refresh the page after a couple of seconds.
You should now be greeted by a nice introduction wizard which will step you through creating your first configuration.

The wizard will guide you through creating your first configuration and, depending on your browser, install it on your ESP device. You will need to name your configuration and enter your wireless network settings so that the ESP device can come online and can communicate with Home Assistant.
The most difficult part of setting up a new ESPHome device is the initial installation. Installation requires that your ESP device is connected with a cable to a computer. Later updates can be installed wirelessly.
If you use Microsoft Edge or Google Chrome, you will be able to install the initial configuration by connecting your ESP device to the computer that you’re using to view the ESPHome Dashboard. You need to access the ESPHome Dashboard over HTTPS for this to work. This is a requirement of browsers to access your ESP device to ensure that we write the correct data.
If you use another browser, you will have to connect the ESP devices to the machine running the ESPHome Dashboard and Home Assistant.
If the serial port is not showing up, you might not have the required drivers installed. These drivers work for most ESP devices:
-
CP2102 (square chip): driver
-
CH341: driver
Dashboard Interface
Assuming you created your first configuration file with the wizard, let’s take a quick tour of the ESPHome Dashboard interface.


On the front page you will see all configurations for nodes you created. For each file, there are three basic actions you can perform:
INSTALL: This compiles the firmware for your node and installs it. Installation happens wirelessy if you have enabled the OTA Update Component in your configuration. Alternatively you can install it from your browser or via a device connected to the machine running the ESPHome Dashboard.
SHOW LOGS: With this command you can view all the logs the node is outputting. If a USB device is connected, it will attempt to use the serial connection. Otherwise it will use the built-in OTA logs.
COMPILE: This command compiles the firmware and gives you the option of downloading the generated binary so that you can install it yourself from your computer using ESPHome-flasher .
The configuration files for ESPHome can be found and edited under HOME_ASSISTANT_CONFIG/esphome/ . For example the configuration for the node in the picture above can be found in /config/esphome/livingroom.yaml .
Now go ahead and use one of the devices guides to extend your configuration.
Adding some (basic) features
So now you should have a file called /config/esphome/livingroom.yaml (or similar). Go open that file (in any text editor) and add a simple GPIO switch to the configuration like this:
In above example, we’re simply adding a switch that’s called “Living Room Dehumidifier” (could control anything really, for example lights) and is connected to the pin GPIO5 .
Connecting your device to Home Assistant
Once your configuration is installed on your ESP device and is online, it will be automatically discovered by Home Assistant and offered to set up on your integrations screen:
Alternatively, you can manually add the device by clicking “CONFIGURE” on the ESPHome integration and entering “NODE_NAME.local” as the host.

After the first installation, you will probably never need to use the USB cable again, as all features of ESPHome are enabled remotely as well.
Adding A Binary Sensor
Next, we’re going to add a very simple binary sensor that periodically checks a GPIO pin to see whether it’s pulled high or low — the GPIO Binary Sensor .
This time when installing, you don’t need to have the device plugged in through USB again. The upload will happen wirelessly ( “over the air” ).

Where To Go Next
Great 🎉! You’ve now successfully setup your first ESPHome project and installed your first ESPHome custom firmware to your node. You’ve also learned how to enable some basic components via the configuration file.
So now is a great time to go take a look at the Components Index . Hopefully you’ll find all sensors/outputs/… you’ll need in there. If you’re having any problems or want new features, please either create a new issue on the GitHub issue tracker or find us on the Discord chat (also make sure to read the FAQ ).
Источник: