


Arduino Nano CH340
Содержание
- Step 1: Drivers
- Step 2: If You Have Yosemite
- Step 3: Testing
- 1 Person Made This Project!
- Recommendations
- 66 Comments

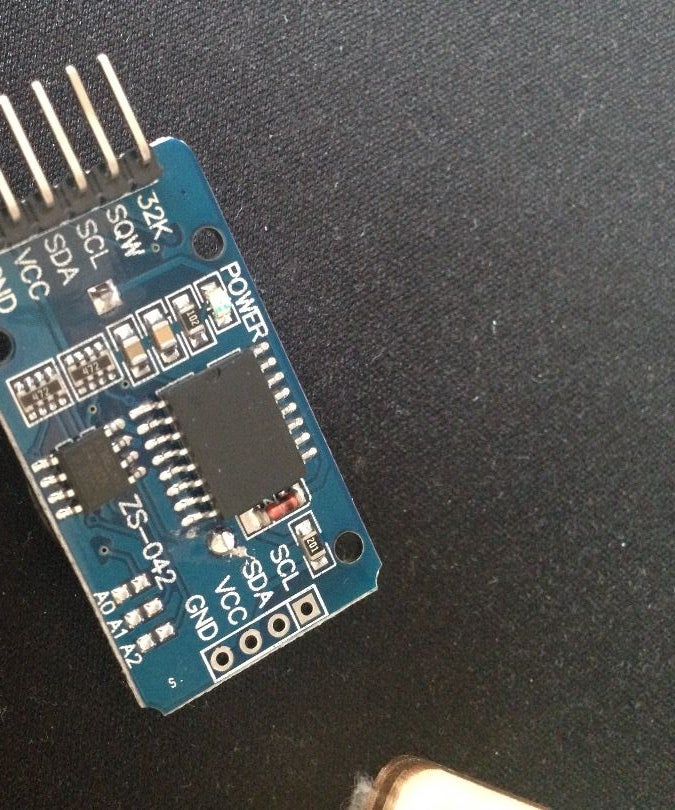

If you are like me and ordered a cheap arduino nano clone from a chinese website like aliexpress or banggood, chances are that they come with the cheaper CH340 USB to Serial chip. This is a cheap chip that manufacturers exploit to make the clone a lot cheaper. This can also be a downside. For me, being a mac user, I had a real hard time finding drivers etc for it. In the end I found some drivers, which were pretty good and I finally could get a blink sketch uploaded. I now want to share my experience for future buyers so you can get it working a lot faster. Enjoy!
Step 1: Drivers
Basically, let me put it this way. Buy from chinese site, get chinese drivers. I got my drivers from here. Once you have downloaded the file. Unzip the install file and start the install process. Once this is done, reboot your computer. ALTHOUGH WAIT. If you have mac and are running yosemite. You will need to follow the instructions in the next step. If you are not a yosemite user, please skip the next step and restart your computer.
Step 2: If You Have Yosemite
For the drivers to work for you, you will have to do this before you reboot your mac:
1. Open terminal
2. Write the following (just copy from here): sudo nvram boot-args="kext-dev-mode=1" Do not ess up here. It may ruin your computer if you write the wrong code.
3. Once you have pressed enter, terminal will prompt you for your user password. Insert this and press enter.
4. Once done, restart your computer.
Step 3: Testing
If everything is done correctly and there were no errors appearing. You should be able to restart your arduino IDE and see the port. For my mac it is usually like above in the picture but sometimes it changes. You will also notice that once in a while (maybe 1 time of 3) you will get errors when uploading but you do not have to care, the code will usually upload either way.
I hope this tutorial helped you and remember that the CH340 chip is a bit complicated and it may also be used in other cheap arduino board clones. Thanks for reading and once again, I hope it helped you.
1 Person Made This Project!

Did you make this project? Share it with us!
Recommendations


Sewing Challenge
Micro:bit Contest
Robots Contest
66 Comments

Question 4 months ago
I am running High Sierra on my 2011 Macbook Pro. I have the CH340 driver but when I restart my computer after install, nothing happens and I cannot find the program on my computer. Would that code you provided assist in my predicament?

Question 1 year ago on Step 3
Hi Samuel, I am attempting my first project: morphing digital clock. I have downloaded the driver (windows 10) and not sure what comes next (?) Do I connect my board to the computer to install the driver? Do I wait until the compile step ? THANKS
Bruce

Answer 9 months ago
If you’re using Windows 10 you don’t need the downloaded driver. Just plug the board into your computer; Windows will automatically download the driver the first time it sees it. You only need the downloaded driver for earlier versions of Windows.

For those of you out there running old versions of Windows like XP, you should install the driver before you plug in the board. It’s simple enough; just run the installer. Here is a link to the manufacturer’s site; get the file CH341SER.EXE, that’s the correct driver for the CH340 series. http://www.wch-ic.com/downloads/category/30.html

I am using mojave now. If your running Sierra or later get your driver here:
http://www.mblock.cc/docs/run-makeblock-ch340-ch34.
After installing restart your mac.
Open Arduino IDE and change your settings as shown in the image. Upload the Blink code from FileExamples01.BasicsBlink. Upload the code to your nano. look at the "L" led on the nano blink.


I had to select arduino mini / atmega328. It started to work for arduino nano with CH340 !

Reply 1 year ago
I had spent hours trying to get a cheap uno and a nano with CH340G fitted, your solution worked in seconds thanks for sharing this.

Question 2 years ago on Step 2
With Mac Mojave, should I run the command?
sudo nvram boot-args="kext-dev-mode=1"
Or is it no longer necessary?

I’ve lost hours trying to make two nano clones work.
Were not recognized. Im on Linux, tried on kernel 4 and 5.
In the IDE, the settings I use are :
Arduino Duamilanove ou Diecimila , Atmega 328P, AVR ISP
My issue was the cable ! (the cable box was useful today)

What about the ch340c chip?

Reply 2 years ago
Probably the same drivers. I see they’re labeled ch34x — so will cover 340 and 341, I assume. (You’ve probably got your answer by now — I’m just putting this here for posterity)
Just a quick comment re Linux installation — year is now 2019 and Arduino IE is version 1.8.8.
Tip 1: don’t use apt get to install Arduino IDE on Ubuntu, Elementary or other Debian/Ubuntu distros. The repos do not have nice new versions of the IDE. Download instead from arduino.cc site and follow instructions. Simple.
Tip 2: do not forget to add the current user to the dialout group. ‘sudo usermod -a -G dialout $USER’
Tip 3: In the IDE under tools make you may need to set your "Processor" to ATmega328P (Old Bootloader) . Depending on the generation of the CH340 and esp. if you get message "programmer is not responding".
Comment: Because of the situation with the repos in Tip 1, I did not even try to install the IDE from the openSuSe repos. I downloaded the IDE from arduino.cc and used that in my openSuSE machine.
So, I have Arduino Nano CH340x working on Mac OS (Mojave), Ubuntu 18.04, Elementary Linux (forget version) and openSuSE Leap 42.3 Malachite.
It was not at all necessary to install drivers or make them on the Linux machines — but I did install them for the Mac. Downloaded from the Chinese site. A bit of a challenge as I don’t read Chinese — but the little cloud symbol with a down arrow kind of gave me a clue. Info on Github is really good too. https://github.com/adrianmihalko/ch340g-ch34g-ch34x-mac-os-x-driver

As a linux user (Ubuntu / Linux Mint 17) I had difficulties with the cheap Nano with the CH340G chip getting it to work properly — the upload of any code didn’t work at all. Of course I had installed the Arduino IDE (apt-get install arduino) but was not able to program the Arduino nano. Then I found in a german web article that from time to time you have to reinstall the IDE after a system update of the kernel, so that the serial USB interface works again. I didn’t do it but my Nano started to blink when connected to the USB port so I thought it couldn’t be out of order and should work anyhow. After connecting it to USB in the /dev folder you should find a file called ttyUSB0 or ttyUSB1 or so. In my /dev folder I had found it. So I started again, setting the Arduino IDE platform tool menu "Tools" and "Board" to "Arduino Nano w/ATmega328" (in my case) and "Tools" "Serial port" to "/dev/ttyUSB1" (in my case). Now, the code from the "Blink" example in the IDE could be uploaded to the Nano board as it should be and the LED started to blink. it’s magic!
Источник: