


Arduino Web Editor: Using Arduino IDE Online
Содержание
- 1. Getting Started
- 2. Working with Arduino Web Editor
- 3. Install Arduino Create Agent on Windows
- 4. Set Up Arduino Web Editor for Linux Devices (Optional)
- 5. Using Arduino IoT Cloud
- 6. Creating a Dashboard with Arduino IOT Cloud
- 7. Pricing Plans: Arduino Web Editor
- Conclusion
In this tutorial, we will discuss the various steps of accessing Arduino IDE online using the Arduino Web Editor. It is a more advanced version of the desktop-based Arduino IDE. We will learn to transfer key programming activities to the cloud-based web editor. Additionally, we’ll expand these methods to connect our devices to the IoT cloud, and create dashboards for sharing.
1. Getting Started
Sign in to Arduino online from the official link. Arduino “Create” is now also known as Arduino “Cloud”. You can use Chrome, Edge, or Firefox browsers (desktop versions). You can use a Google account or Apple ID to enable access.
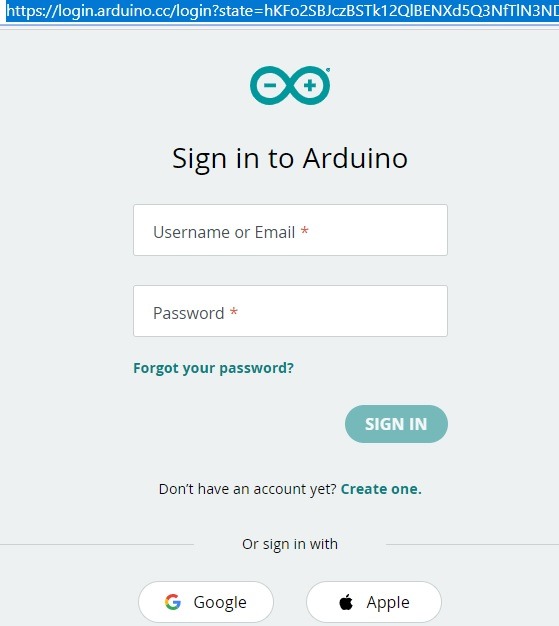
Arduino Sign-In Page
There are three main apps on the homescreen: IoT Cloud, Web Editor, and Manager for Linux. All are interconnected which means any program you compile on one app can be retrieved on the others.
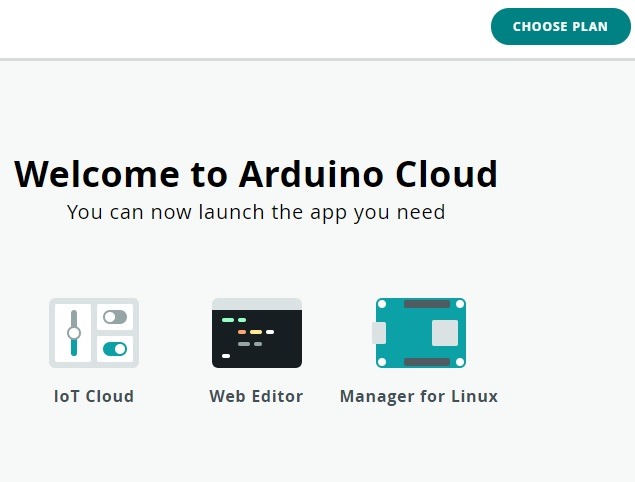
Arduino Cloud Page
To get started, go to Arduino Web Editor. It takes a few seconds for Arduino Cloud to load properly. Once done you’re ready to start using the Arduino Web Editor.
Loading Arduino Cloud in Web Editor
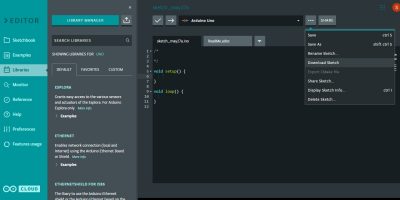
2. Working with Arduino Web Editor
We will briefly summarize the important features of Arduino web editor. Previously we covered many of these features and tutorials for which the appropriate links have been provided in this section.
There are three main vertical sections in the Arduino web editor screen:
- a green section comprising editor options including sketchbook, libraries, preferences (settings), and features usage
- an exhaustive section where you can scroll down for libraries, examples, and references
- the main programming window where you can import sketches, add and save the files, select boards, and much more.
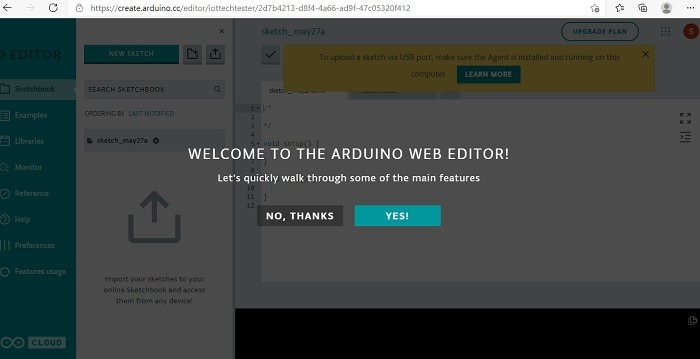
Arduino Web Editor Homescreen Page
At the outset, select your board from the default board provided using an option called “select other board and port”. In this case, we are choosing Arduino Uno as the default board. If your third-party board is not available in the menu options, there’s no need to worry. These can be separately configured from the Arduino IoT Cloud app (covered later in this tutorial).
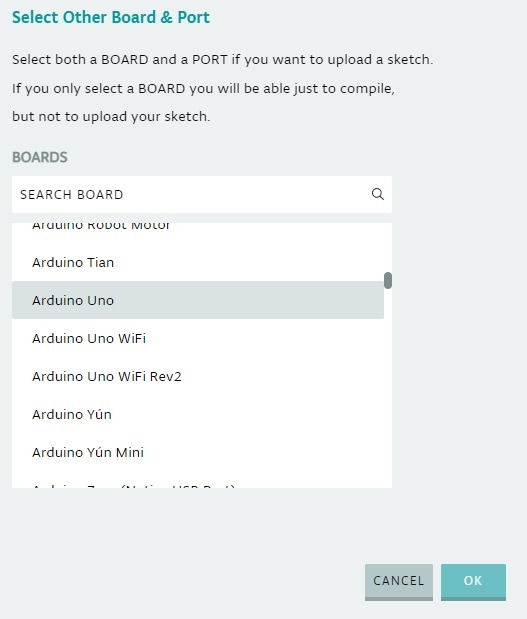
Select Board and Port
The overall interface of Arduino web editor resembles Arduino 2.0 which is currently in beta. Go to “Preferences” where you can do minor settings changes such as font size, and modify the appearance of the web editor. Here we have chosen the dark theme for the IDE, but you can choose more using GitHub .zip files.
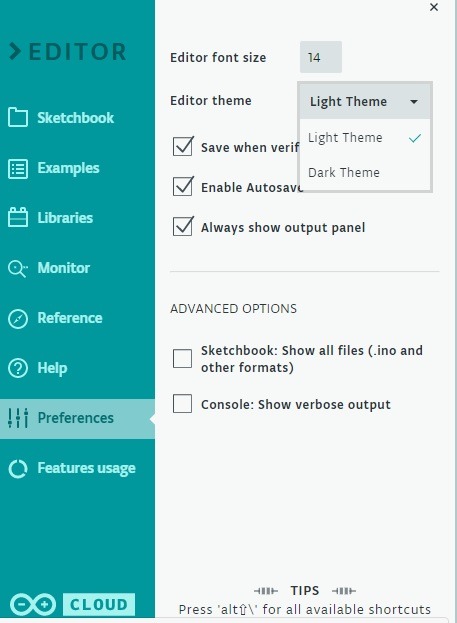
Arduino Web Editor Preferences
The dark theme is evident below. You can also use the library manager in the menu options to add multiple third-party libraries into the programming window.
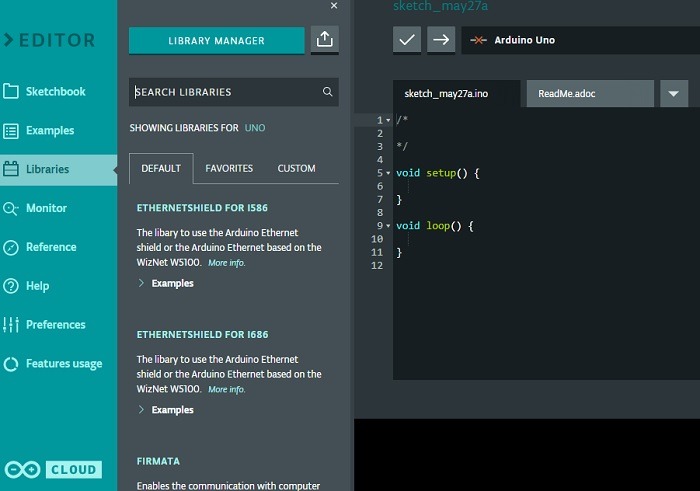
Web IDE Dark Theme
Adding a library is easier in the web version compared to the desktop versions. You only need to “favorite” your library and it will show in the favorites menu. Here we are choosing a library on thermistors.
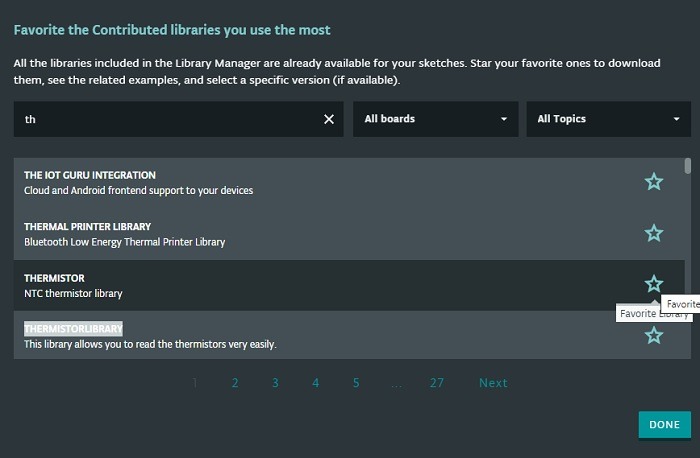
Favorite Contributed Libraries
The libraries are usually known by the #include criteria. Just click “include” on the favorites among your libraries to get them into the sketch window.
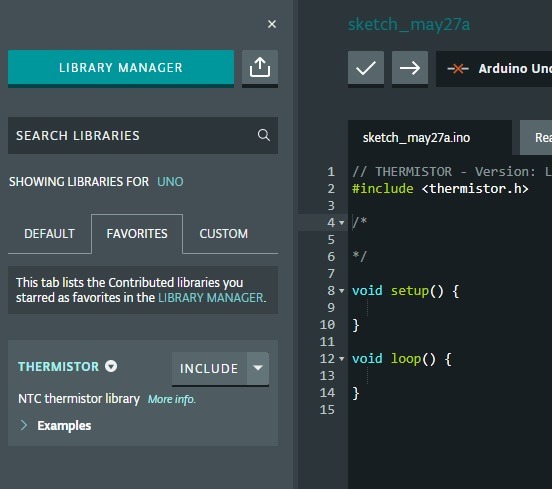
Insert Favorited Library
Do you have any other sketches that you want to import into the window? Go to the screen dropdown menu shown here and click “import file into sketch”.
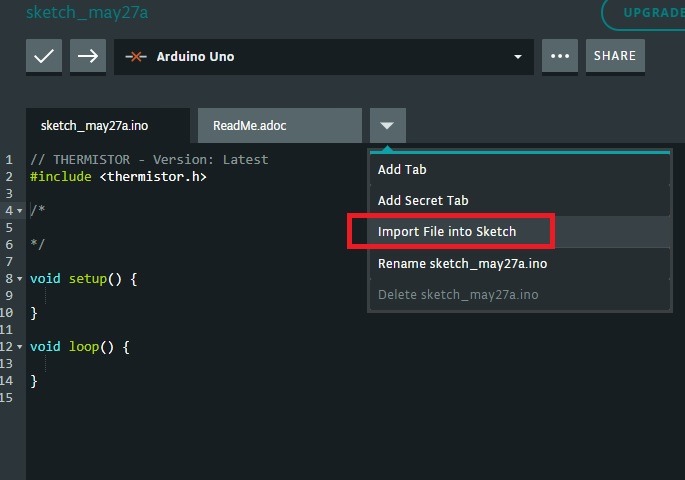
Import .ino File Into Sketch
These are mostly .ino files which represent the format in which Arduino IDE sketches are saved. If you have an Arduino desktop IDE, you can locate the .ino sketches from the “show sketch folder” option in Sketch menu.
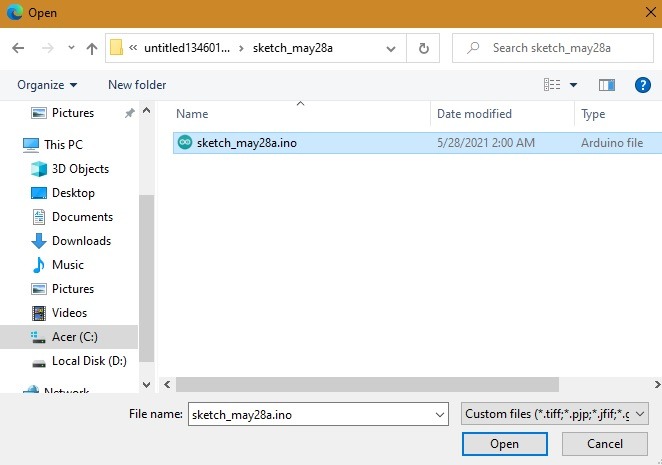
Importing .ino File
Here an .ino file called “sketch_may28a.ino” has been imported into the main window. You can easily rename or delete it.
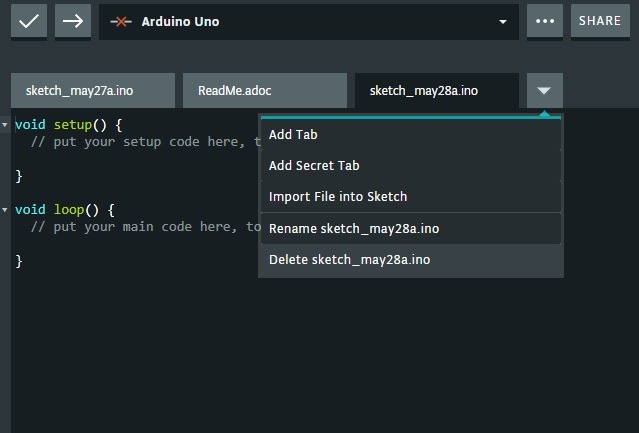
.ino File Deleted
It’s also easy to import your whole sketchbook into the Arduino web editor. This is useful if you plan to entirely migrate from the desktop version to the cloud. These sketchbooks are imported in .zip format, and you can find many such sketchbooks on GitHub and Arduino Project Hub on Arduino.cc.
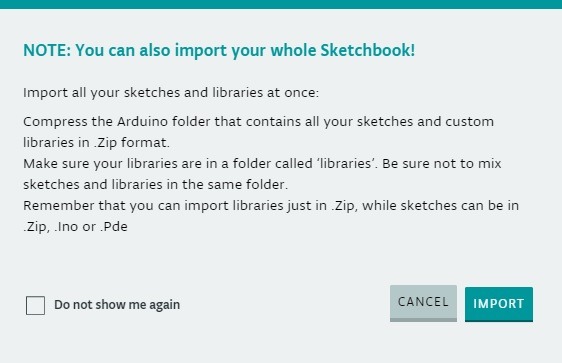
Import Whole Sketchbook in .Zip Format
3. Install Arduino Create Agent on Windows
Having briefly covered how to work with Arduino Web IDE, let’s discuss an important plug-in of the web editor called “Arduino Create Agent”. If you don’t have this agent installed on your computer, you will not be able to upload sketches to the Arduino device online. The agent’s job is to recognize Arduino and other boards, and read/write data from the serial monitor
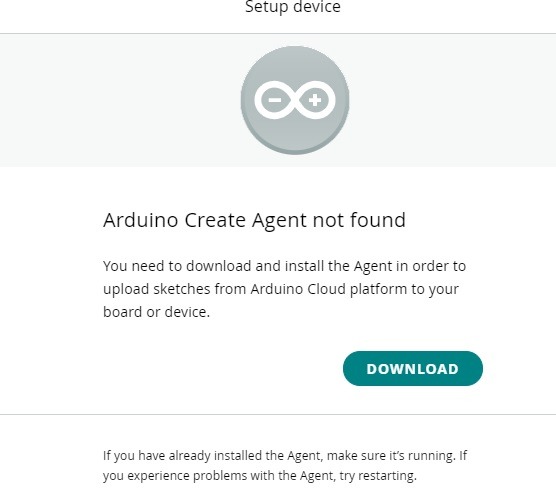
Arduino Create Agent not Found Error
When prompted, click the “download” button to download the Agent .exe file. It has to be done only once for your Arduino cloud account.
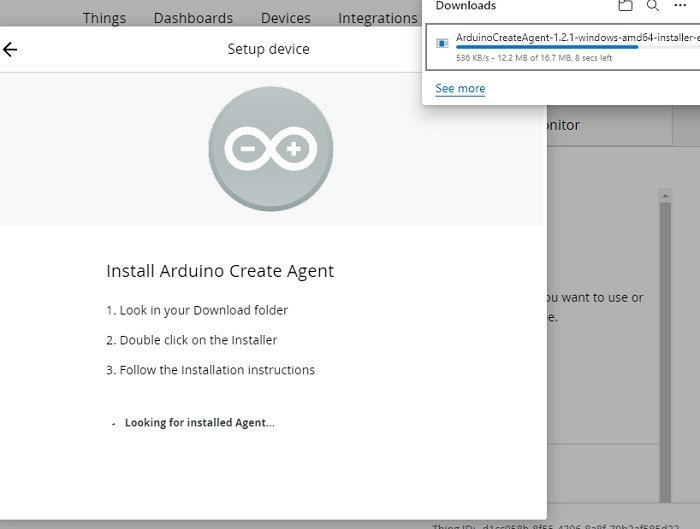
Arduino Agent Installing
On Windows devices, the set up procedure of this agent is similar to any other program. Linux and Mac users should follow the file download instructions at this link.
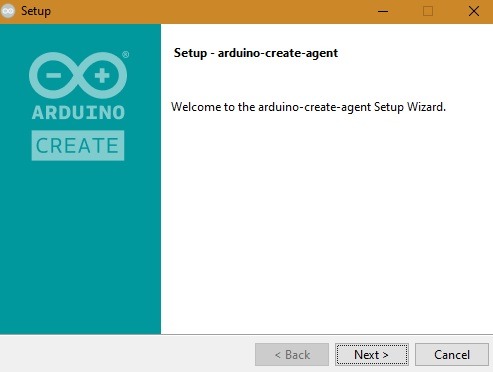
Agent Setup Screen
Wait a few minutes for the program to completely install, and the files to be unpacked.
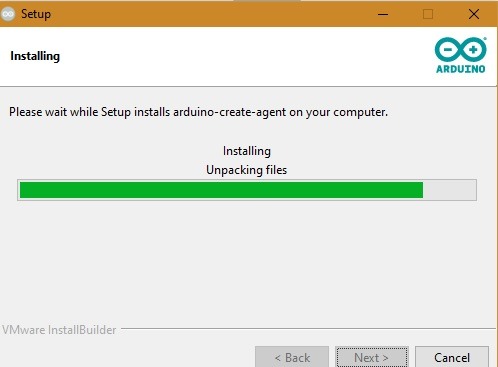
Arduino Agent Installing Unpacking
You might notice a security warning certificate on Windows devices. Click “OK” to proceed.
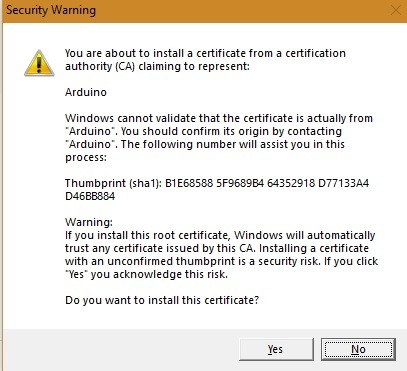
Arduino Agent Security Certification
Once done, click “Finish” to have the Agent installation complete.
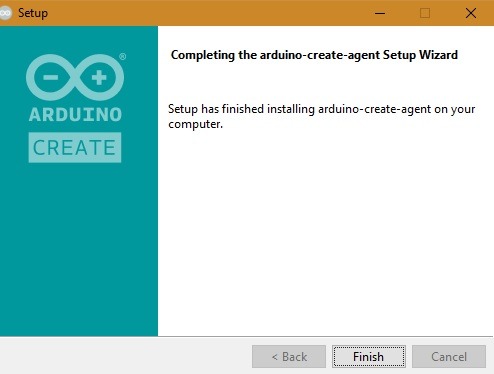
Arduino Agent Setup Finished
This is what the agent looks like on a Windows computer. You can directly go to your Arduino IoT cloud page from this right-click menu option.

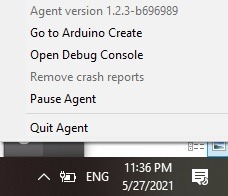
Arduino Agent on Windows PC
4. Set Up Arduino Web Editor for Linux Devices (Optional)
You can also make your Arduino web editor to work with Linux-based boards such as Raspberry Pi, Beaglebone, and many others. This option can be accessed from the Arduino cloud homepage, as Arduino Linux Manager is one of the three main apps. Click “Set up a Linux device” to proceed with this option.
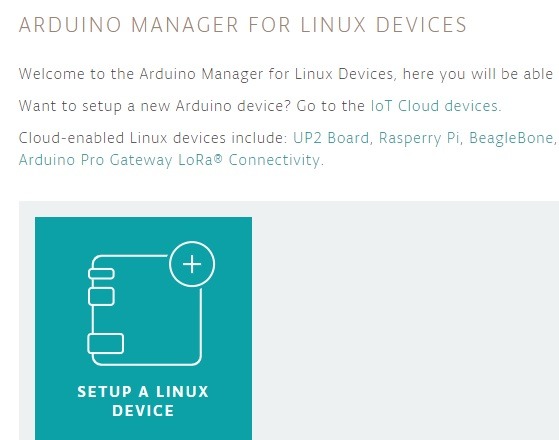
Arduino Web Editor Linux Devices Manager
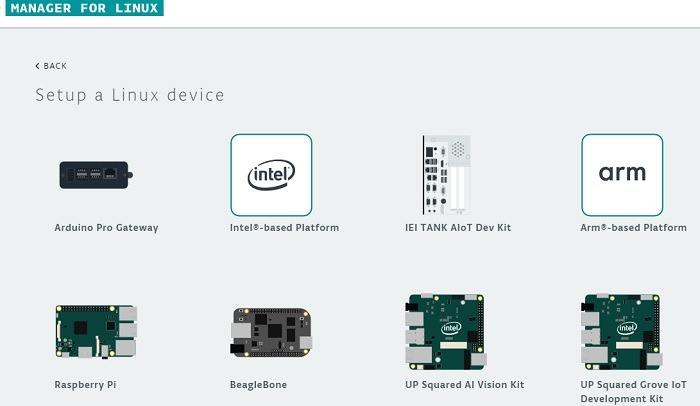
In the next screen, you can choose your Linux-based device/board which you want to work with your Arduino IDE online.
For Raspberry Pi, you need to set up your Arduino Create Agent, set up your Raspberry Pi, and install the Arduino editor.
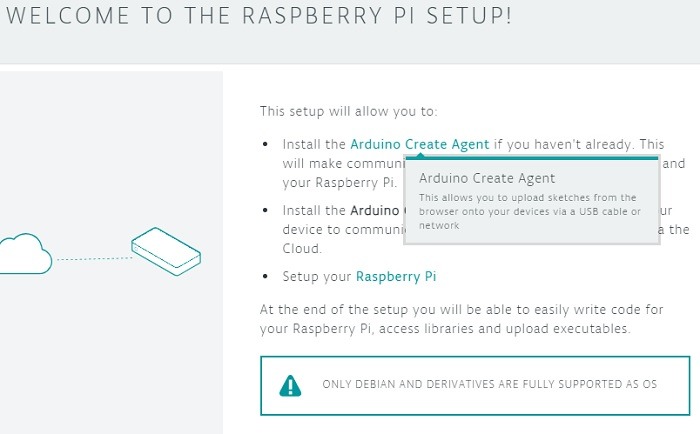
Raspberry Pi in Arduino Cloud
5. Using Arduino IoT Cloud
Now that we’ve learned to work with Arduino IDE on the web, and integrate its agent, the next step is to use a key app called “Arduino IoT Cloud”. You can see this option on the main sign-in page. Once you choose the app, you will go the screen below. It has four options: “things”, “dashboard”, “devices”, and “integrations”. Here we will show you how to create your first “thing” on Arduino’s web editor. We can have several of these “things” running simultaneously.
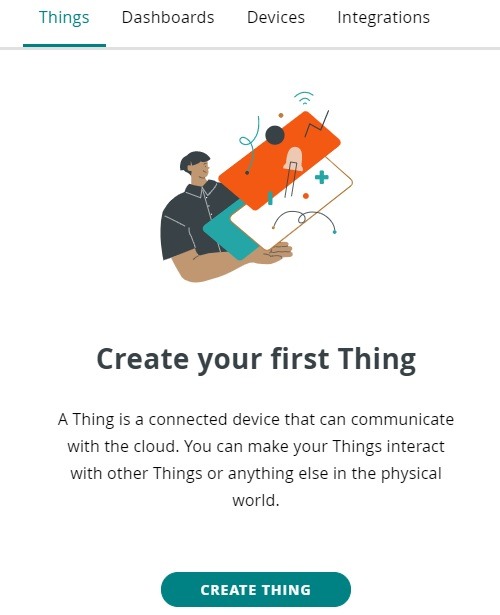
Arduino IoT Cloud Homescreen
First rename the IoT Cloud thing. Here it is being renamed as “Test Device”. Next we have to create variables which are some parameters such as acceleration, velocity, temperature, humidity, etc. For this, go to “Add variable”.
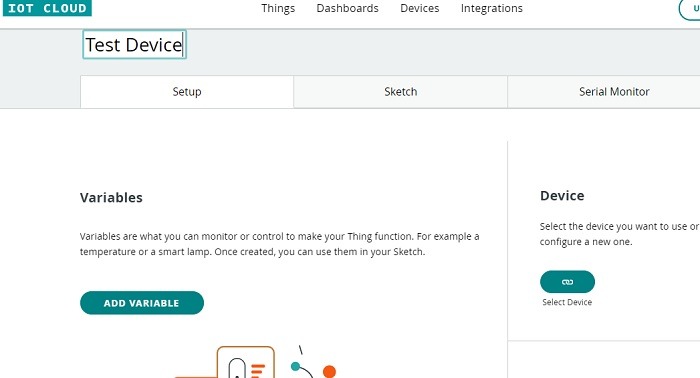
Arduino IoT Cloud Setup Page
Let’s take the example of robot cars. Here we have added “cloud acceleration” variable. Enable “read write” in the variable permission if you want to deploy the sketch. Also, put the threshold value as per your needs.
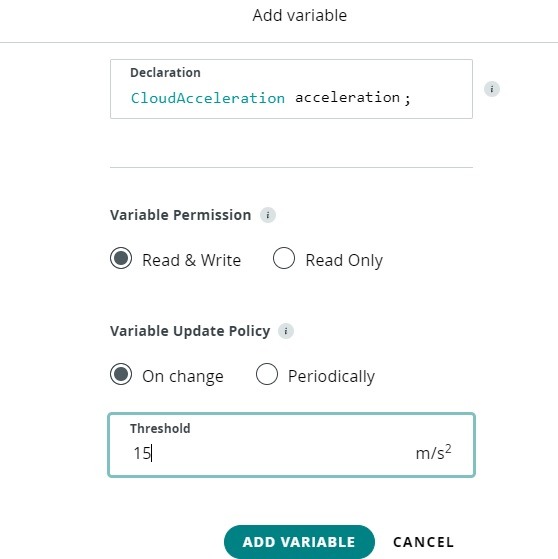
Add Variable in IoT Cloud
In the next step, you will need to set up a device. It can be either any Arduino device or a third-party device. Remember in the previous sections we discussed the problem of not having a device enabled in the Sketchbook main window. This is where you fix the problem. There’s a large range of compatible devices to choose from.

Arduino Set Up Device
You will have to install some drivers based on the device chosen. Click Yes to continue.
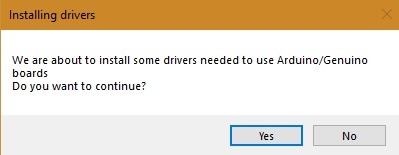
Arduino Agent Installing Device Drivers
In this case though, we are choosing an ESP 32 device specifically using an ESP32 Wrover module.
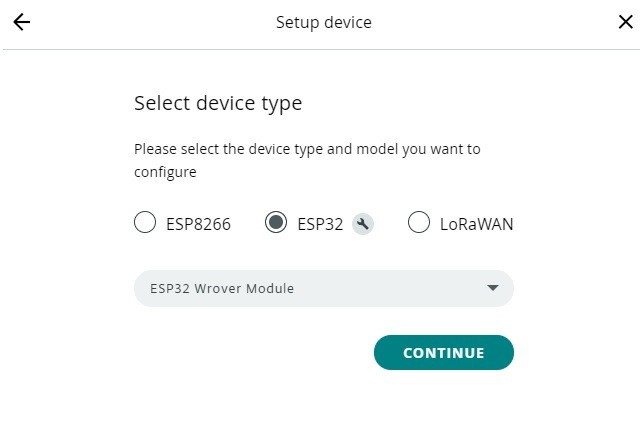
ESP32 Device Installed
To continue the set up, give your device a name. You will also need a device ID and secret key. Save them to continue.
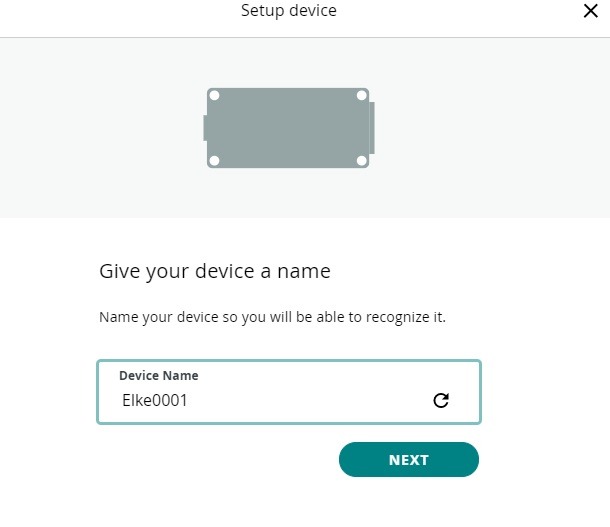
Third-party Device Named in Things

Device ID and Secret Key
Once the device is paired successfully, you will see a notification. Now you can connect your device to sensors, actuators, and other input hardware.
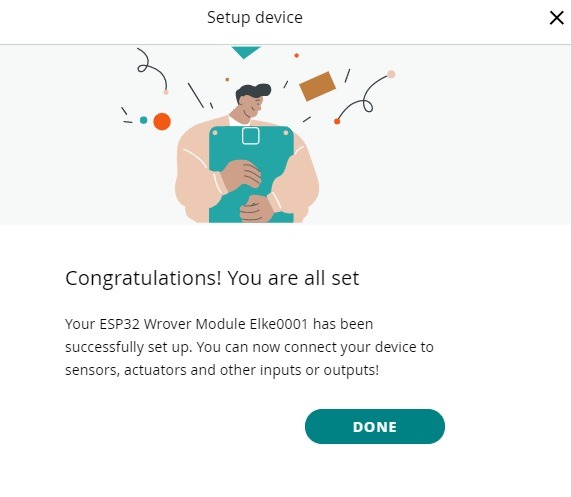
Device Setup Successful
You can visualize your entire setup of variables and devices in the Things dashboard.
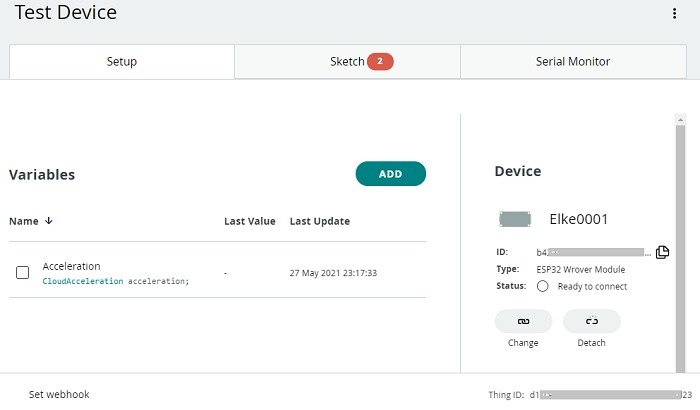
Final Setup Page Arduino IoT Cloud: Device + Variable
You can also view or edit your sketch for the device at this juncture.

Arduino Web Sketch Updated
Since all Arduino web apps are interconnected, you can import this configuration into your Arduino web editor. The board has been automatically updated to “ESP 32 Wrover module” as shown here.
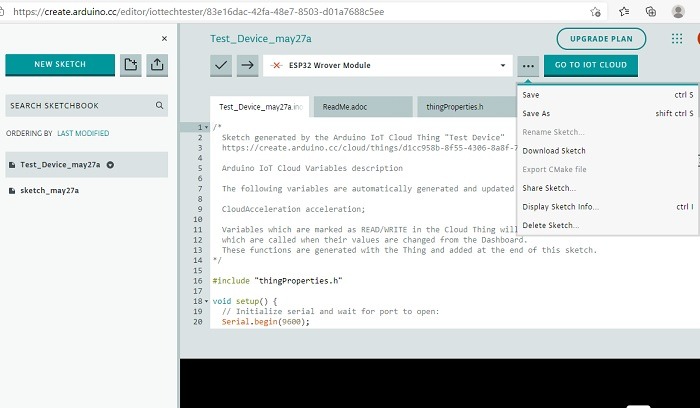
Arduino Web Editor View of Things Sketch
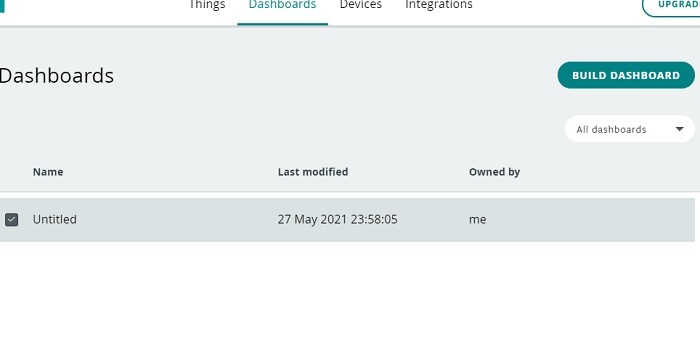
6. Creating a Dashboard with Arduino IOT Cloud
For collaboration and sharing, you need a dashboard. Dashboards are defined as visual user interfaces for interacting with your boards over the cloud. This is the second option you can access from Arduino IoT Cloud. Click “Build dashboard” to proceed.
There are various options here. You may add a “widget” of switch, push buttons, sliders, steppers, colors, and so forth. The created dashboard will give a graphical appearance of any app you design that connects with the IoT cloud.
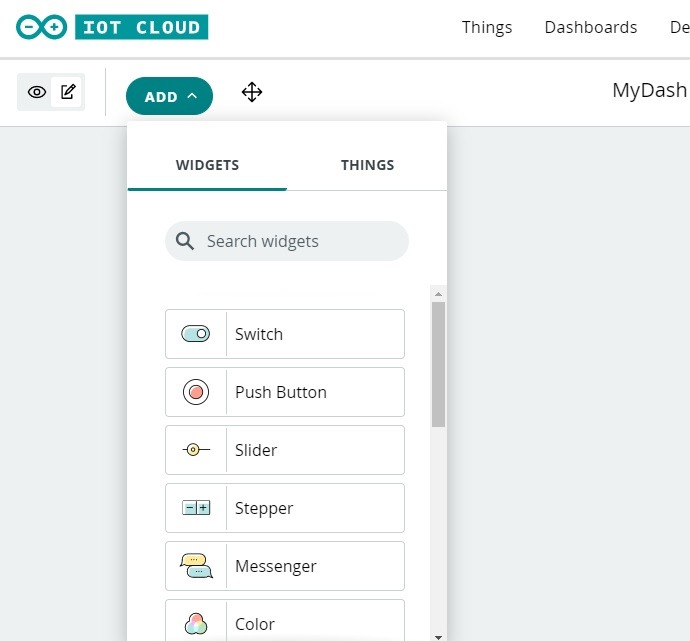
Adding Widgets in Dashboard
7. Pricing Plans: Arduino Web Editor
Arduino web editor is free to use, and you can create unlimited sketches for your needs. But the free account has some restrictions. For example, you can only save the sketches for 1 day (can download them easily), and only100 MB space is provided, with only 200 seconds per day compilation time. This is enough for a beginner. For more advanced Arduino users, there are other plans at reasonable cost starting only $2.99 per month.

Arduino Cloud Plans
You can keep track of your quota and storage from the web editor itself.
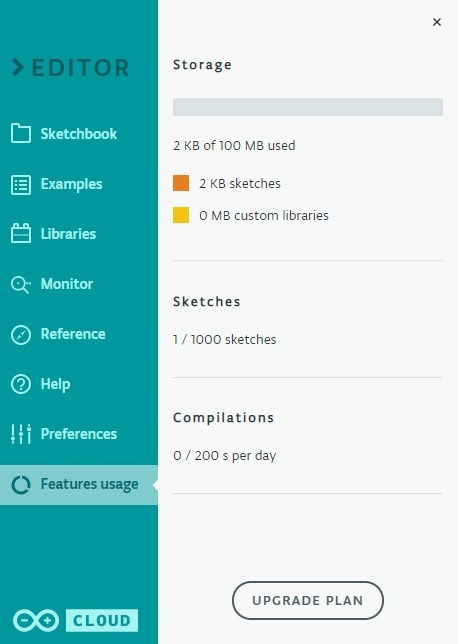
Arduino Cloud Free Plan
Conclusion
Arduino is the world’s largest open-source hardware and software ecosystem compatible with several modules, shields, third-party microcontrollers, and also single-board computers. Accessing them all on a web browser is a tremendous improvement over working with a desktop IDE.
The main benefits include developers getting access to premium Arduino features, libraries, and built-in components. They can write code online and upload the sketches to the board. The cloud also allows remote collaboration using dashboards, and an Arduino account is the only thing you need to access all the features.
Related:
IoT-addicted since early 2016. Love to explore the challenges, opportunities and trend insights into what is becoming the third wave of Internet.
Never Miss Out
Stay updated with our weekly recap of the latest trends in IoT world.
By signing up, you agree to our Privacy Policy and European users agree to the data transfer policy.
Источник: