


How to Install Minecraft Game on Ubuntu 18.04 LTS
Minecraft is now owned by Microsoft. it’s not free. Even though it’s not free, Minecraft is one of the most popular game in the world.
In this article, I am going to show you how to install Minecraft on Ubuntu 18.04 LTS. First, I am going to show you how to install Minecraft from the official website. Then I will show you how to install as a SNAP package. Then I will show you how to install Minecraft using the APT package manager. Let’s get started.
Downloading and Installing Minecraft from the Official Website:
Minecraft is written in Java programming language. So, to run Minecraft, you must have Java Development Kit (JDK) installed on Ubuntu 18.04 LTS machine.
JDK is available in the official package repository of Ubuntu 18.04 LTS. So it can be installed easily.
First update the APT package repository cache of your Ubuntu 18.04 LTS with the following command:

The APT package repository cache should be updated.

Now install OpenJDK 8 with the following command:

Now press y and then press Enter.
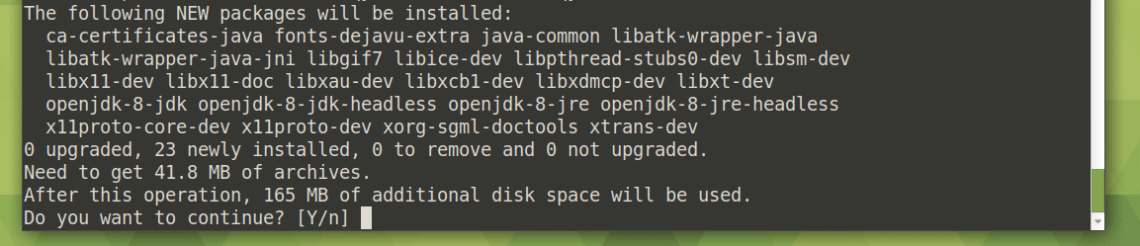
OpenJDK should be installed.

Now check whether JDK is working with the following command:
As you can see, it is working.

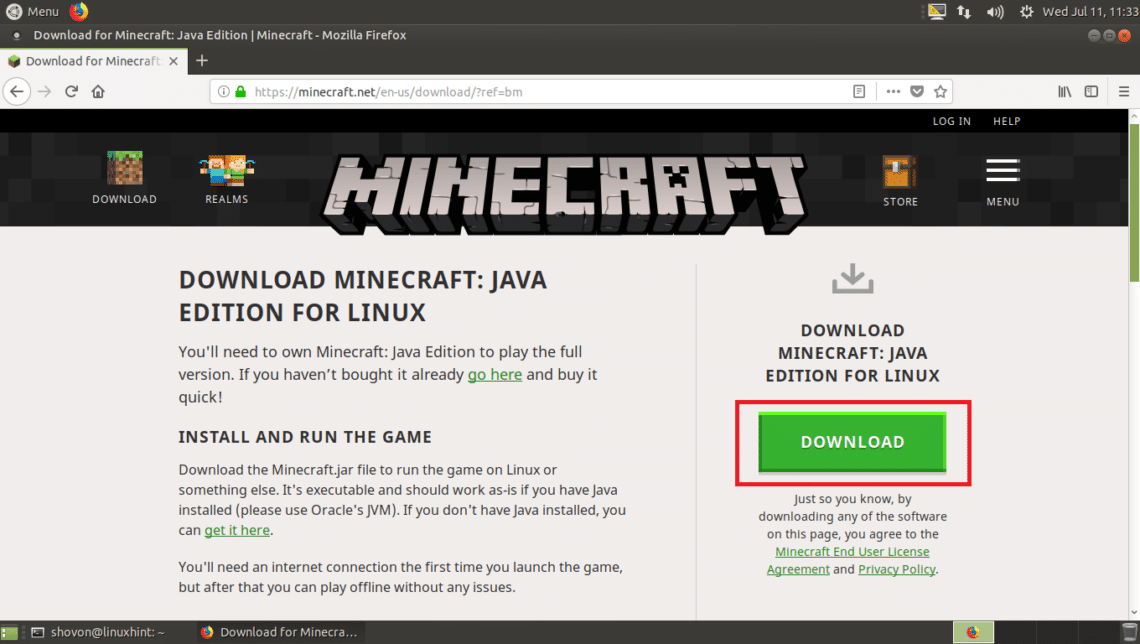
Now go to the official website of Minecraft at, https://minecraft.net/en-us/download/?ref=bm
You should see the following page. Click on Download as marked in the screenshot below.
Now click on Save File and then click on OK.
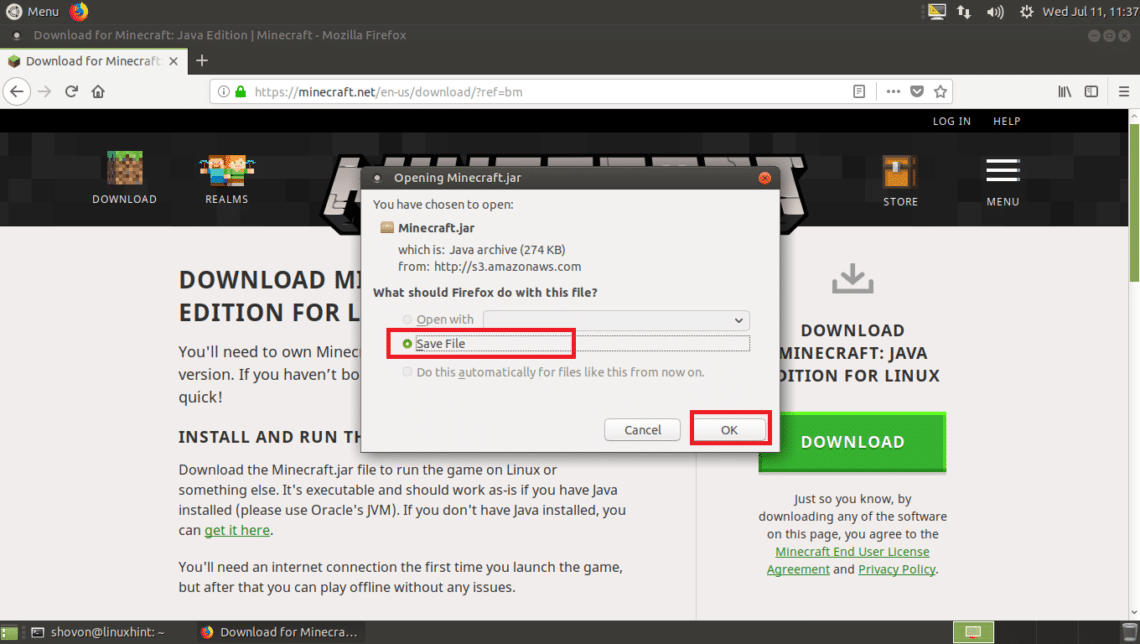
Minecraft should be downloaded.

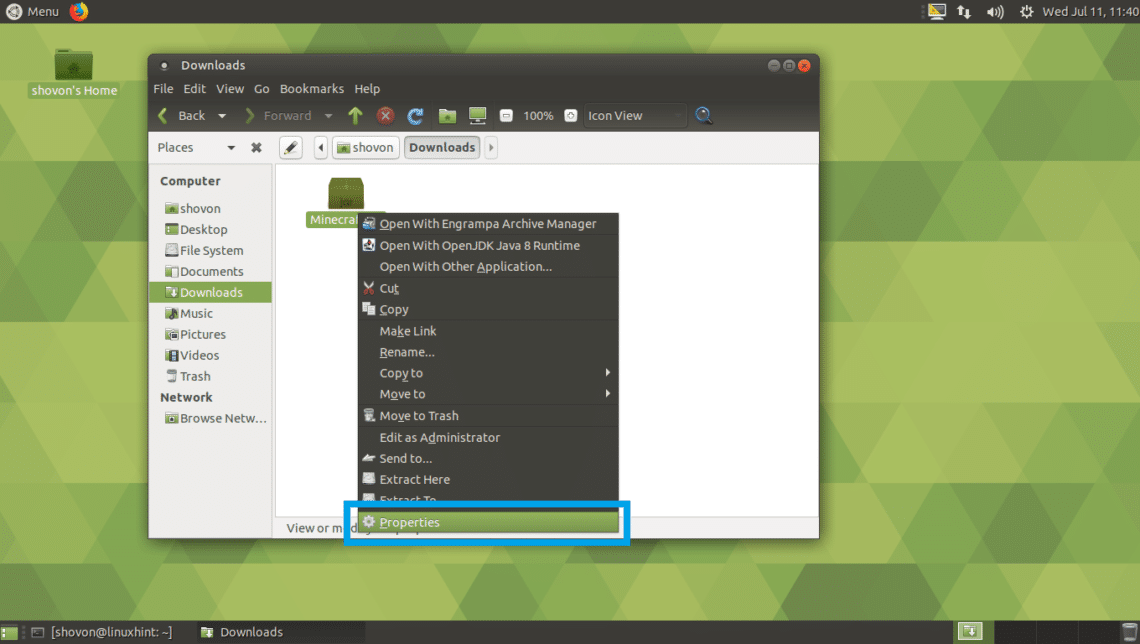
/Downloads directory in your user’s HOME directory, Minecraft.jar should be there.

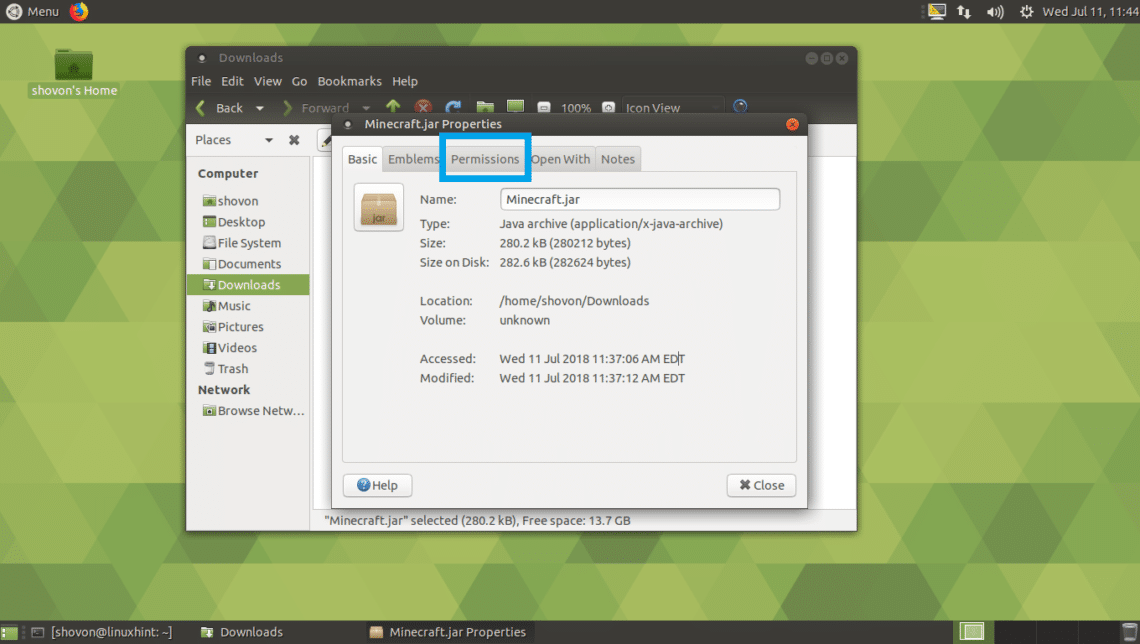
Now you have to make Minecraft.jar file executable. Right click on the Minecraft.jar file and click on Properties.
You should see the following window. Now click on the Permissions tab.
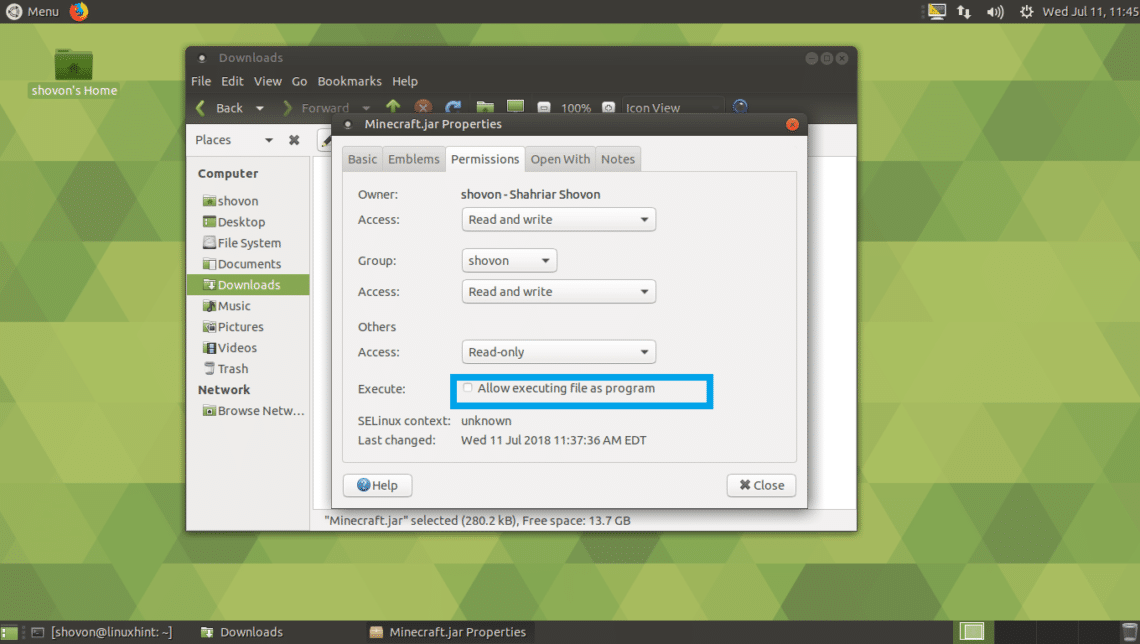
You should see the following window. Check Allow executing file as program checkbox as marked in the screenshot below.
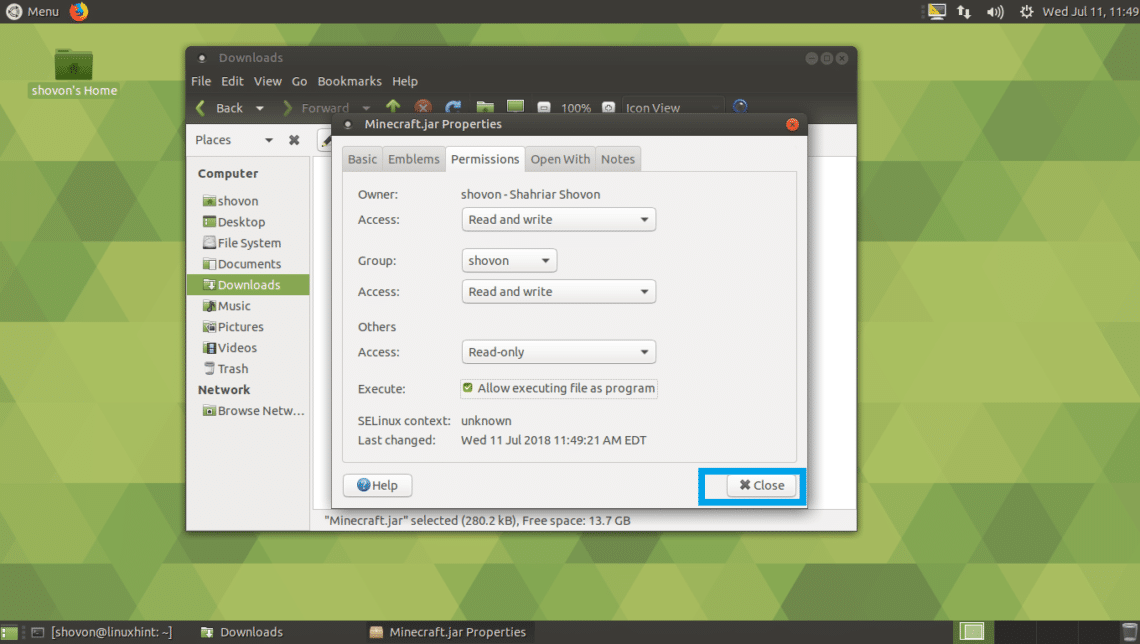
Now click on Close.
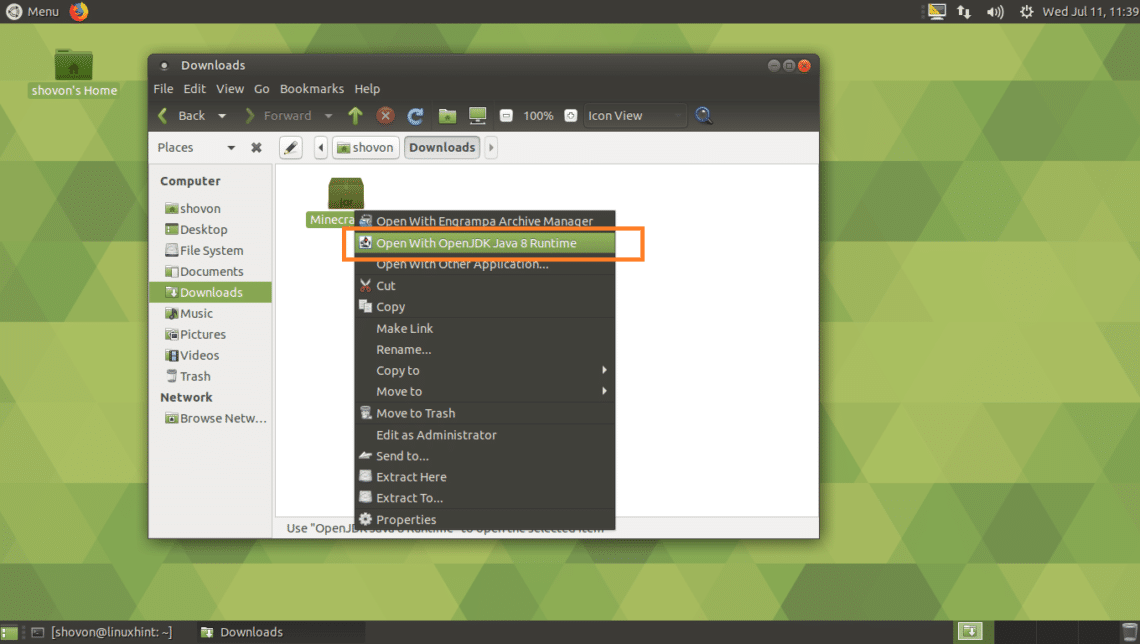
Now right click on the Minecraft.jar file and click on Open With OpenJDK Java 8 Runtime.
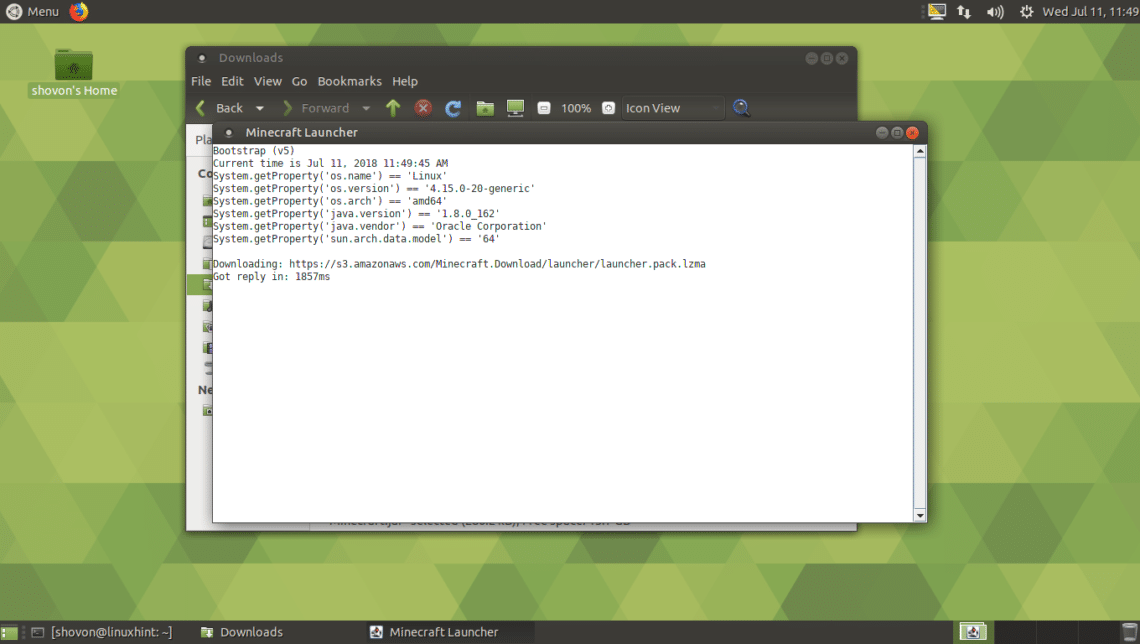
You should see the following window. It’s downloading Minecraft launcher.
Once the launcher download is complete, you should see the Minecraft login window. If you already have a Minecraft account, type in your credentials here and click on Log In.
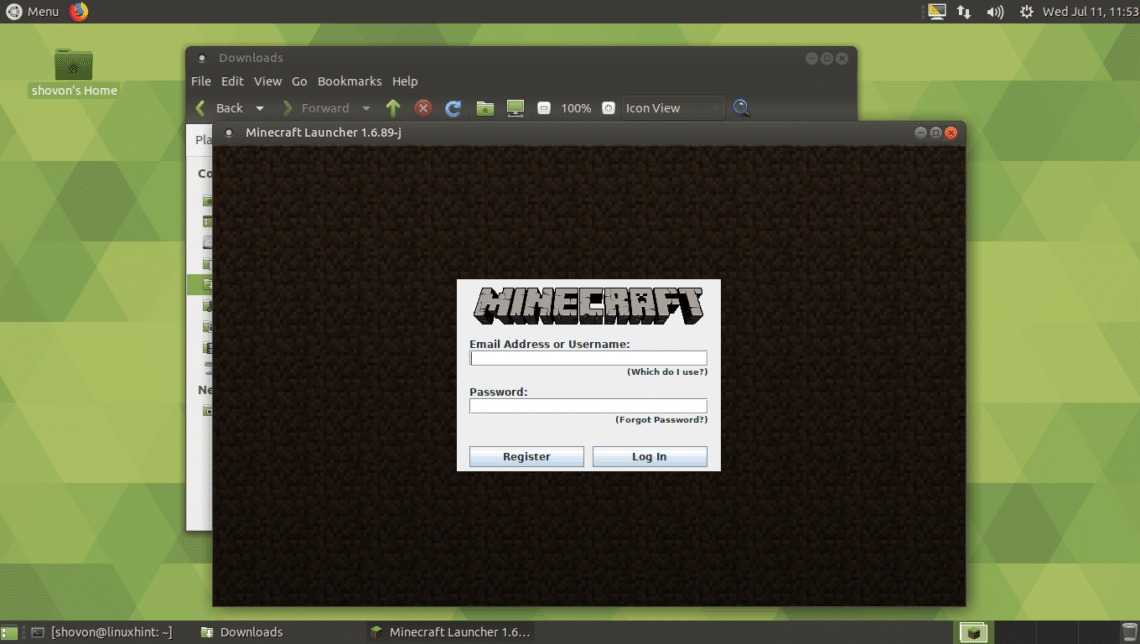

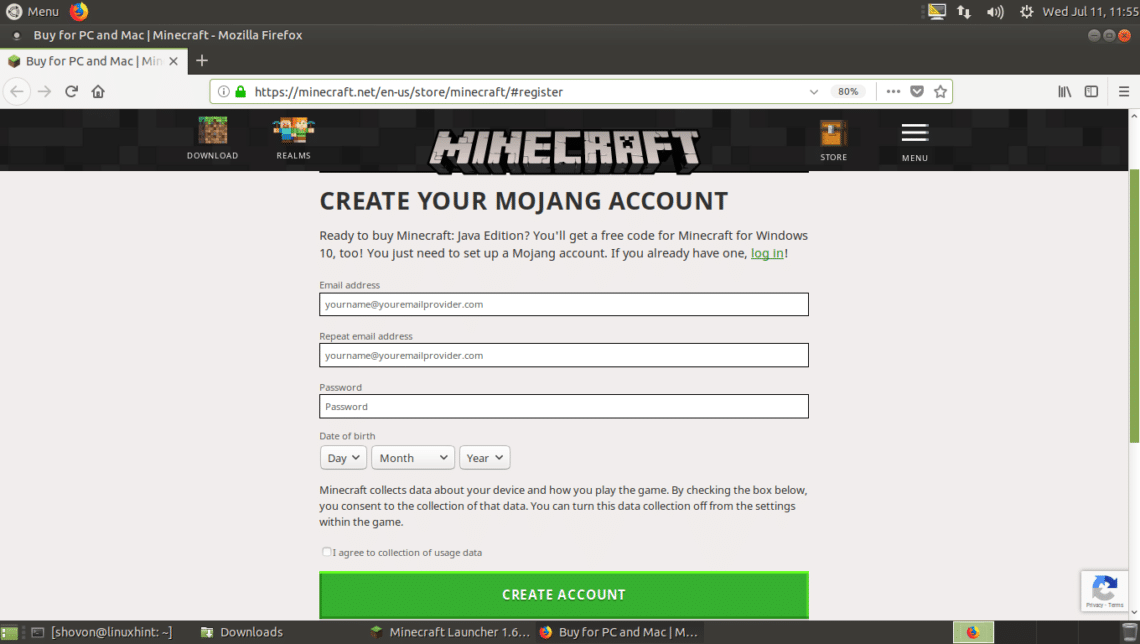
If you don’t have a Minecraft account, click on Register and your web browser should open the registration page as you can see in the screenshot below. Type in your details and click on Create Account and follow along. Minecraft is not free. At the time of this writing, a copy of Minecraft will cost you 26.95$. If you just register and don’t buy Minecraft, at the time of this writing, you should be able to play 100 hours for free. The demo version is good enough for people who wish to try Minecraft before buying. You may also go for the demo version to check whether your computer can run Minecraft. If your computer can run Minecraft and you like it, then you can buy Minecraft anytime. No worries.
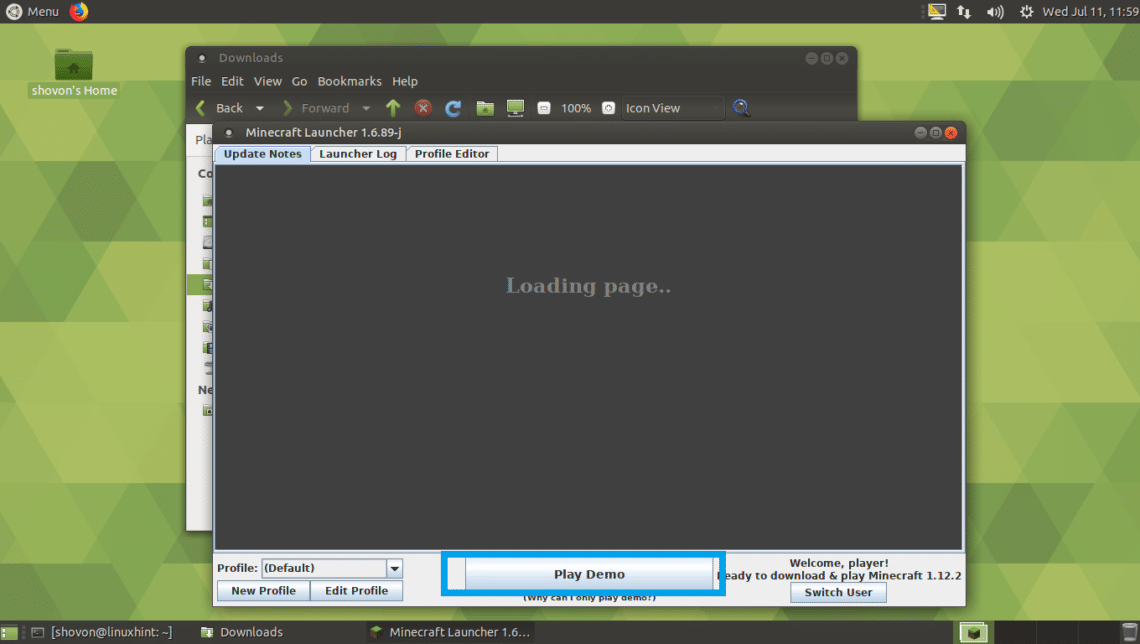
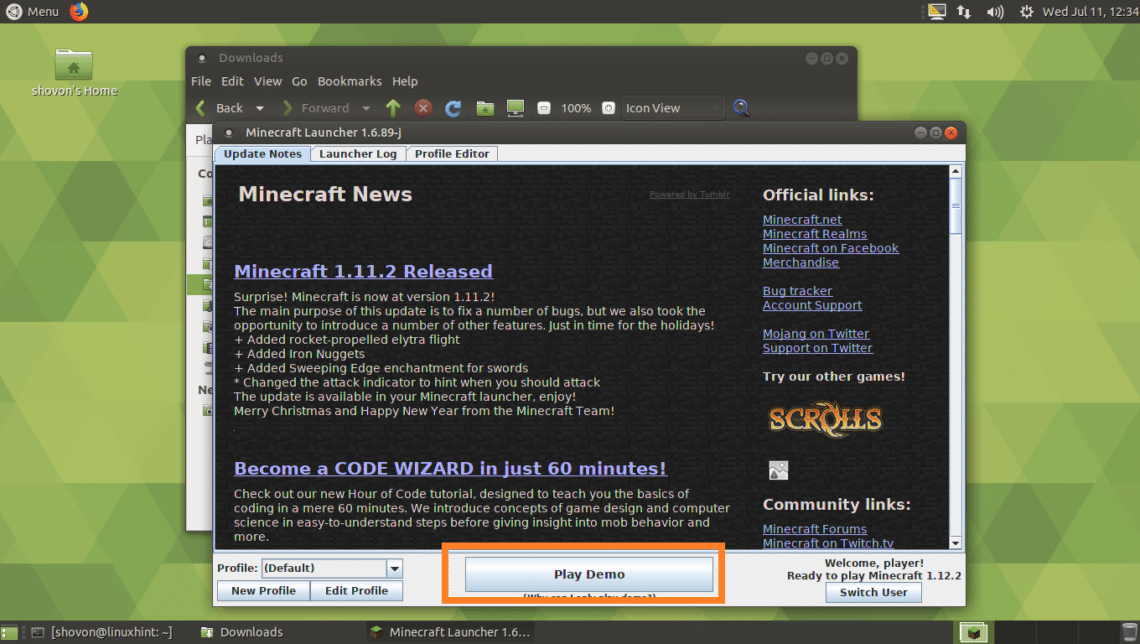
As you can see, I am logged in using a free account. Now click on Play Demo to play the demo version of Minecraft.
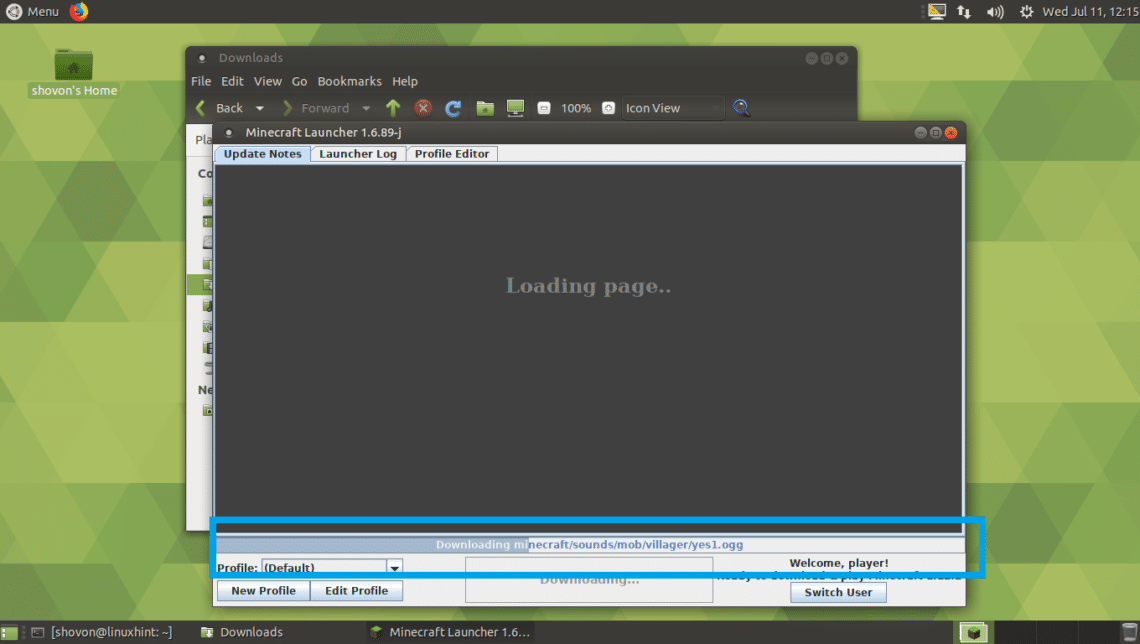
The demo version of the game should be downloading as you can see from the screenshot below.
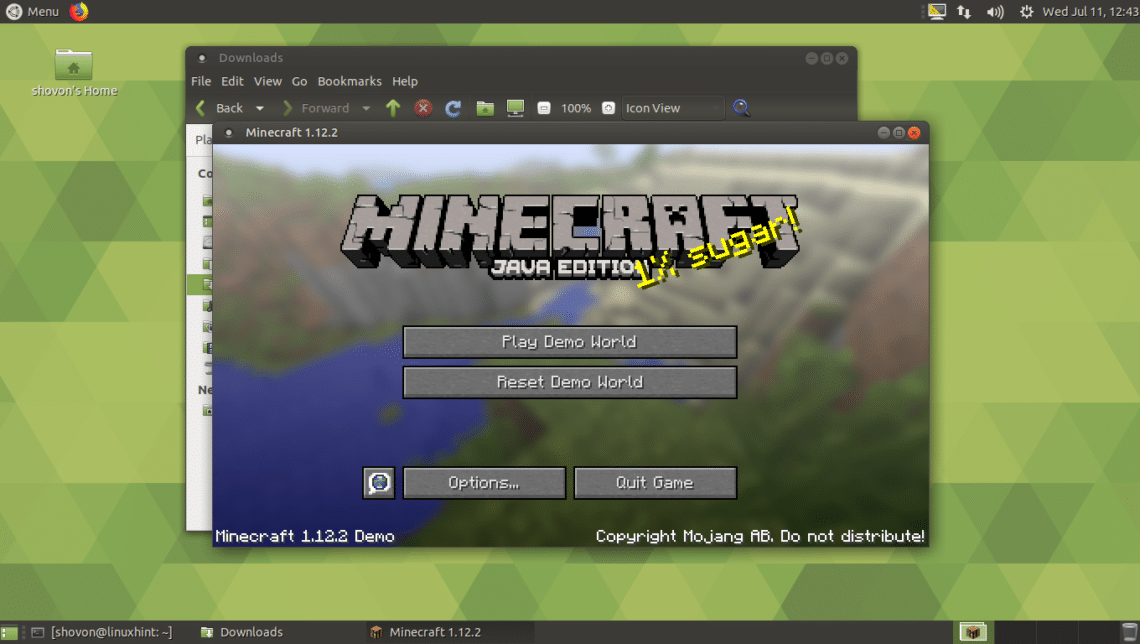
Once the download is complete, click on Play Demo.
Minecraft should start as you can see from the screenshot below. Have fun playing Minecraft.
Installing Minecraft Snap Package:
Minecraft is available as a snap package on Ubuntu 18.04 LTS. To install Minecraft snap package, run the following command:

Minecraft snap package should start downloading.

Once it’s done, you should be able to start Minecraft from the Application Menu. I am not going to show you in detail as it takes a lot of time to finish downloading. But it should work.
Installing Minecraft Using PPA:
Minecraft can be installed using the APT package manager. You just have to add the unofficial PPA of Minecraft.
To add the Minecraft unofficial PPA, run the following command:

Now press Enter to continue.

The unofficial Minecraft PPA should be added and the APT package repository cache should be updated.

Now run the following command to install Minecraft from the PPA:

Now press y and then press Enter to continue.
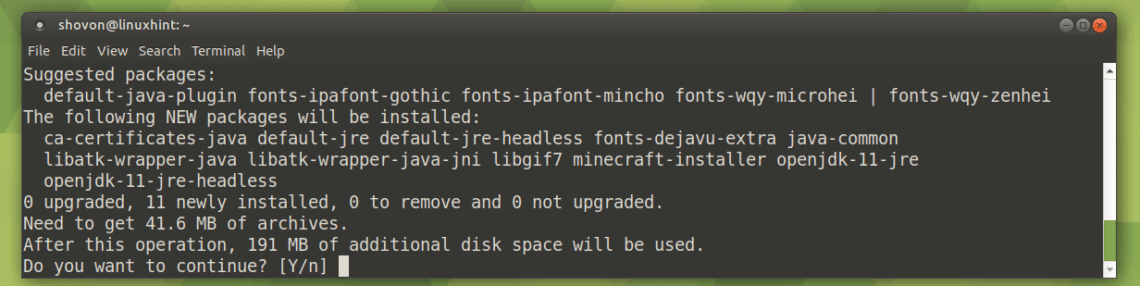
The APT package manager should start downloading Minecraft packages and its dependencies.

In a few minutes, Minecraft should be installed. Once it’s installed, you should be able to find it in the Application Menu of your Ubuntu 18.04 LTS.
So that’s how you install Minecraft on Ubuntu 18.04 LTS. Thanks for reading this article.
If you have Minecraft installed and what to go to the next steps check out these tutorials:
Источник: